How to Record a Product Demo on Mac That People Actually Watch
A step-by-step guide to recording a product demo on macOS: planning the take, preparing the screen, recording clean audio, and exporting for the web.
A good product demo is short, specific, and easy to follow. Most bad demos fail for the same few reasons: the viewer cannot see what was clicked, the cursor wanders, and the video runs twice as long as it needs to. The good news is that all of these are fixable before and during the recording, not just in an editor afterwards.
1. Decide the one thing the demo proves
Before you open a recorder, write one sentence: "After watching this, the viewer knows that ...". A landing page loop might prove that setup takes thirty seconds. A changelog clip might prove that the new export button exists and where it lives. Anything that does not serve that sentence comes out.
Then write the click path as a short list. Five to eight steps is plenty for a 60 to 90 second demo.
2. Prepare the screen
- Hide what is not the product. Close unrelated windows, turn on Do Not Disturb, and clear the desktop.
- Use demo data. Real customer names and emails do not belong in a public video. Seed an account with realistic but fake data.
- Size the window deliberately. A window around 1440 by 900 points records crisply and leaves room for a background around it.
- Bump the text size if the app allows it. Viewers often watch on a phone.
3. Record the take
With Glidesmith, press ⌘⇧R, pick Window from the floating bar and choose the app. The countdown gives you time to put the pointer where the demo starts, so frame one is not a cursor sitting on a Record button.
A few habits make the edit almost unnecessary:
- Move with intent. Go straight to the next target and pause a beat before clicking. That pause becomes the zoom's lead-in.
- Do not narrate the obvious. "Now I click Save" adds nothing. Say why, not what.
- Mistakes are fine. Pause, take a breath, and redo the step. Cutting a retake takes seconds.
4. Let the polish happen, then check it
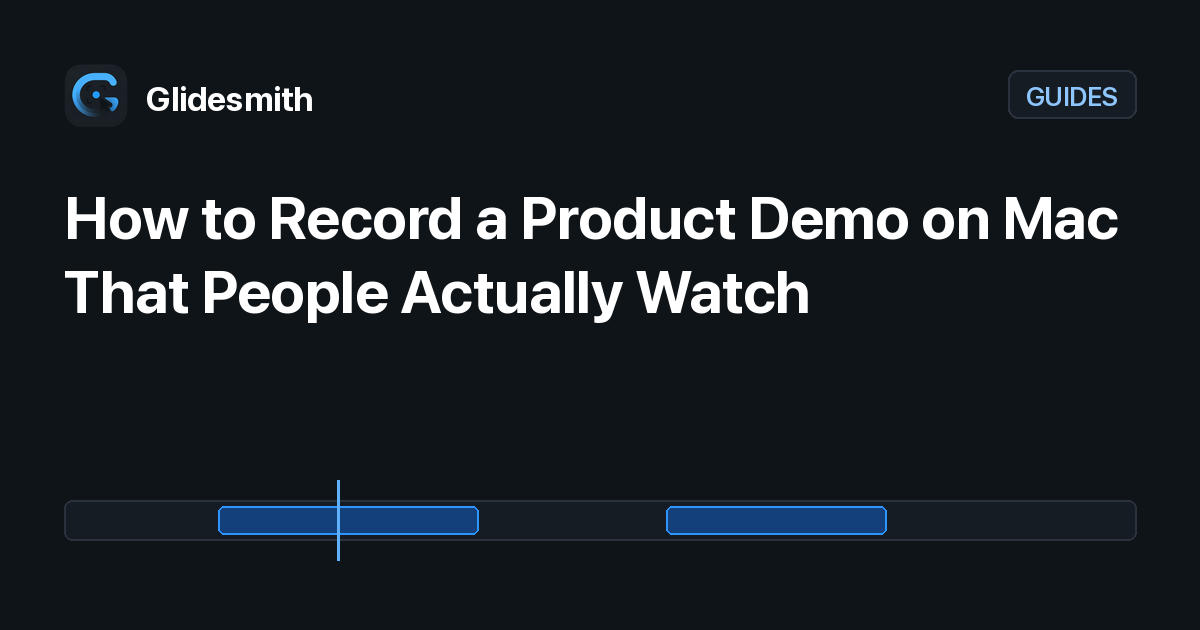
When you stop, Glidesmith has already placed an eased zoom on each click, merged clicks that landed close together, smoothed the cursor path and put a background behind the window. Your job is review, not construction:
- Scrub the timeline and delete any zoom that lands on something unimportant.
- Stretch a zoom block if the viewer needs longer to read a panel.
- Trim the dead air at the start and the end, and cut any retakes.
5. Export for where it will live
For a website or a launch post, 1080p at 60 fps is the sweet spot: sharp, smooth and a reasonable file size. Use 4K only when the video will be shown large. For social feeds, crop to 4:5 or 9:16 in the Crop tab and the export follows. Our export settings guide goes deeper.
A checklist to keep
- One sentence the demo proves
- Five to eight steps, written down
- Clean screen, demo data, readable text
- Deliberate pointer, a beat before each click
- Review zooms, trim, cut retakes
- Export at 1080p60 unless there is a reason not to
Record your next demo with Glidesmith. It is free to record and edit, and it runs entirely on your Mac.

Written by Glidesmith Team
Building Glidesmith, the Mac screen recorder for demos and tutorials. Local, no account.
Try Glidesmith free
Record, auto-zoom and polish your next demo. Free to record and edit, and it never leaves your Mac.